Thursday 18 April 2013

Creating the Double Page Spread

 
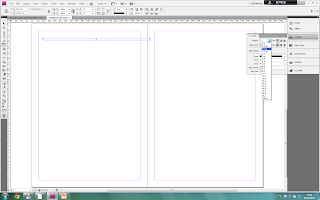
Firstly I had to get two pages which were next to each other in order to create a double page spread. The way in which I did this was to open In Design as normal and then add in 2 more pages.

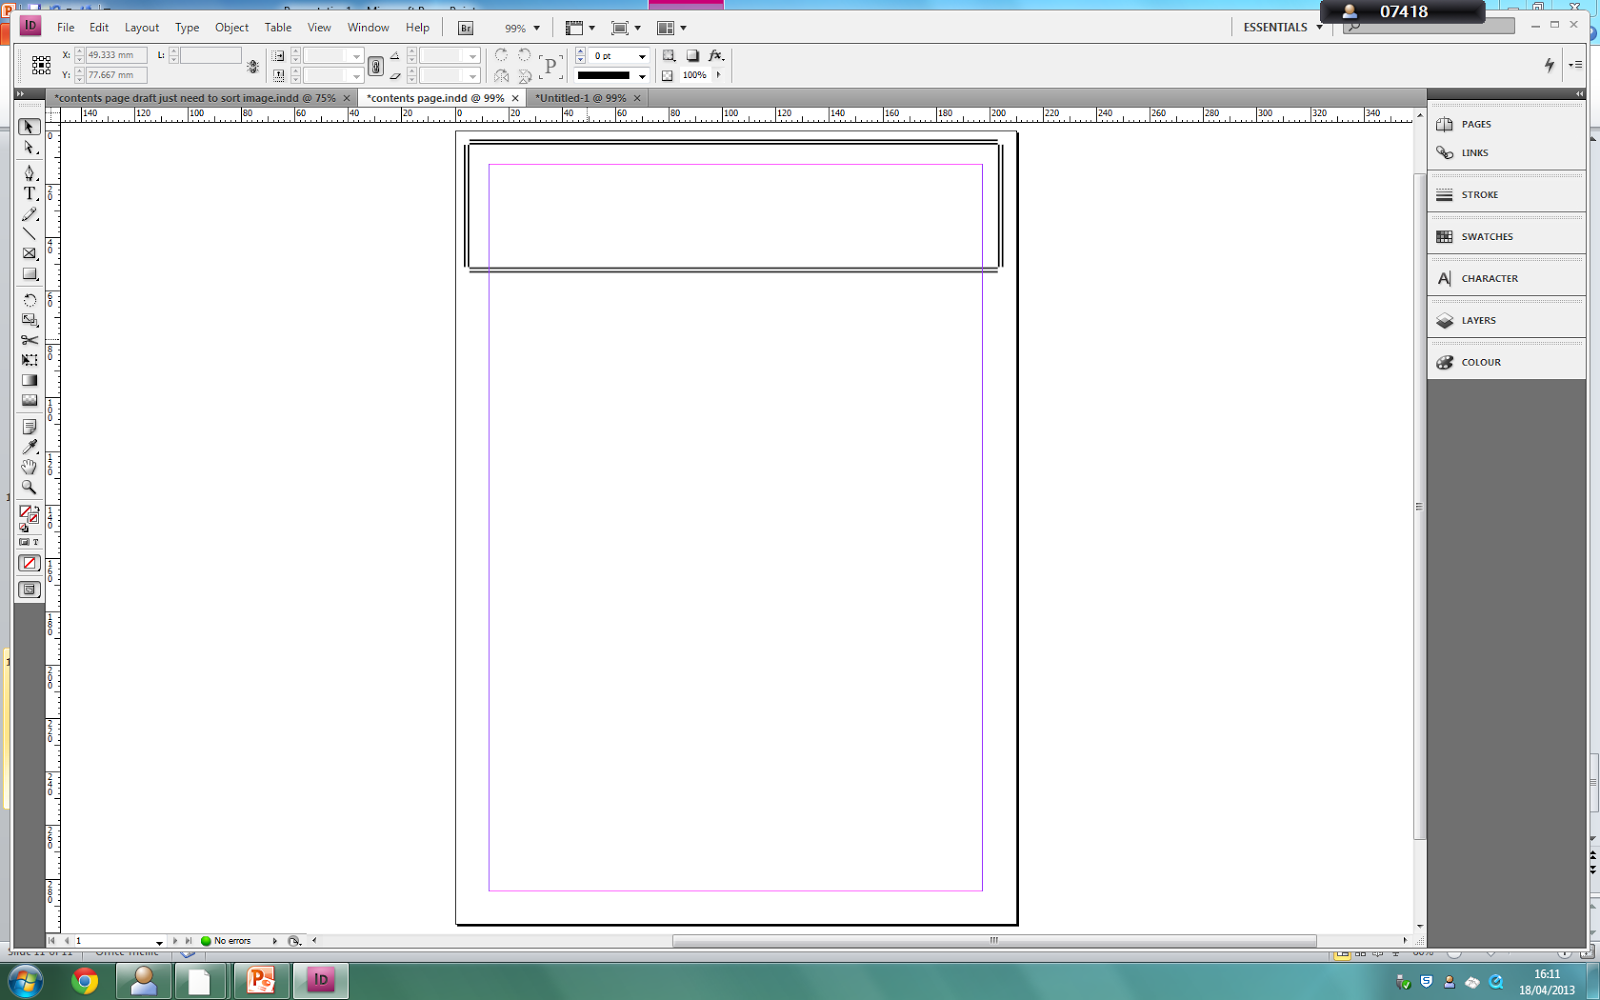
I then created a line, using the line tool which will run across the top.

From my designs I knew that this line had to be dotted and so I went to "stroke" (seen on the right hand side of the print screen) and changed the weight of the line so it was thicker.

I then changed the properties of the line so that it was dotted as seen in my research.
 

I then moved on to making the flag in which will say "beat interview," the way in which I started to make this was by using a straight line.

I then made the straight line wavy so that it fitted the criteria needed. The way in which I did this was to used the third tool down the left hand side tool bar. which when you click on the centre dot of the line will make the line wavy. I then did this a further time to create the bottom part of the shape and then added in two lines creating a triangle facing inwards.

Next, I selected all the different parts and went to object, and then group, so that I could move it to the right position.

I then filled in this shape using boxes of different sizes and added in the logo of my magazine and some text.

I then added in the image by going to file, and then place.

Editing the image on my Double Page Spread

Firstly I had to open the image by going to file, open and then looking through my documents to find the image. 


I then cropped the image by using the crop tool located in the left hand tool bar. I had to make the image the correct size to be used on a double page spread.

 I then used the "clone stamp tool" to remove any blemishes from the page. This tool works by pressing control on an area of the image you wish to copy and then using the mouse to transfer this to the desired part of the image.

I then used the magic wand tool in order to select all of the background. This tool works by simply clicking on the part of the image you wish to select.

This is then the background all selected.

As I want to make the background pure white I went to image, then adjustments and then brightness/contrast to make it brighter which will then ultimately turn it white.

Creating the contents page

Once opening Adobe In Design the first thing that I did was to create a line to be used as part of the header. The way in which I ensured that I had a straight line was to hold down the shift button while drawing the line. Once I had a line I then changed its properties so that its weight was big enough to be seen. Added to this I changed the properties of the line so that it was two lines and the way in which I did this was by altering the options in the box on the right hand side of the print screen.

I then did the same thing until I had created a box to be used as the header.

I then added in the name of the page, but did so in a way which my research has led me to. The way in which I did this was to click on the text tool and then draw a box for me to then type in. In order to make my contents go onto 3 different lines, I had to write the letters in 3 separate text boxes.

I then changed the properties of the character by clicking on the text and then clicking "character" which is located in the tool bar on the left and then a box will come out with further options in, as seen in the print screen.

I then used these principles of using text boxes and altering the character to write in all of the articles. I wrote each articles in a separate text box so I could move them around the page easily.


I then had to place the image onto the page by going to place and then finding the image in my documents.

I cropped the head part off of my image by simply moving the box around the shape. I did this in order to keep in line with my research.

Like with the contents page I then inserted the top part of the image on top so that it was on top of the header. This meant placing it and then going to clipping path to get rid of the white background. (See creating front cover to see how to do this).

This is then my final contents page in In Design.

Editing the image on my Contents Page

(See editing the image for the front cover for information on how to open the image in Adobe PhotoShop) The first thing I did when I opened the image was to crop is down so that only the essential white drop could be seen. The way in which this is done is by clicking on the crop tool and then creating a box with this tool around the part of the image you wish to keep.

The next thing that I did was to clone the image so that all of the blemished were gone. Added to this I used the magic wand tool to select the whole of the white back drop and then changed its brightness so that is was as white as possible. (See editing image of front cover to see how.)

This is then my final image for my contents page.

Initial Hand Drawn Designs for Double Page Spread


This is what the left hand side page will have at the bottom of the page. As the page number is essential and so should be thought about.


These four are my initial hand drawn designs and all have only got one image on the right hand page, it is therefore the left hand page that I am most interested in at this point. I like the first one, however I feel with the images at the bottom as well as the big header it prevents there being much room for the actual article, yet I like the big header. Therefore the second one down is one that I will defiantly look into in more detail. Another one that I like is the third one down and this is because I like the big "C" in the background, however the name of my model is Anja and so I don't think the letter A would work as well.

Furthered Hand Drawn Designs for Double Page Spread


These are my refined hand drawn designs of my double page spread and I prefer the top one and this is because I think that the opening is much more effective for a double page spread. Added to this it creates more chance of the reader stopping to read the article as there is more information about it at the top.

Furthered Hand Drawn Designs


These are my refined hand drawn designs and the one that I like the most is the top one and this is because it has a footer which I think closes the page off really well and also the image is on top of the header like in my research. I do however like that the review is on the left as it breaks the page up a bit.